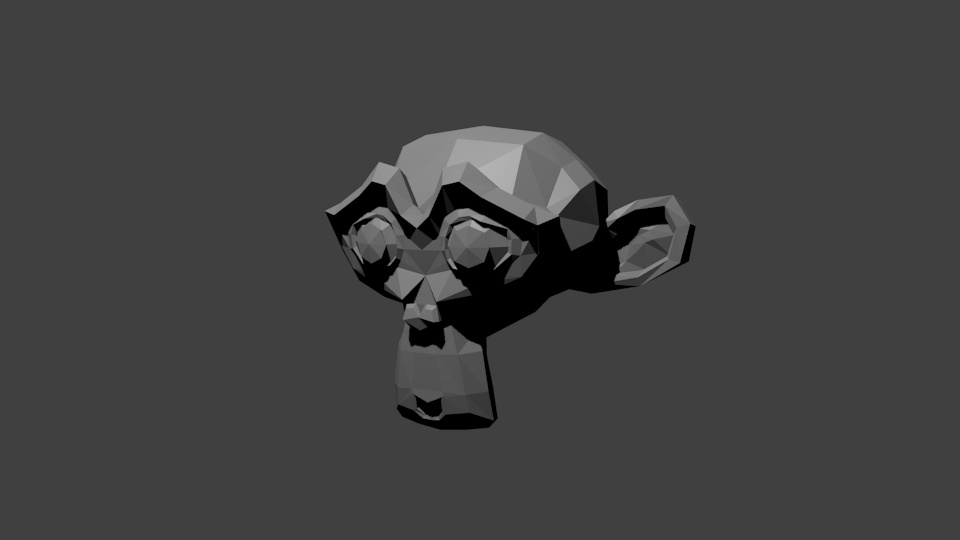
After you know my everyday viewport tricks, now I’m gonna show you a very basic camera and render setting in blender 2.77. Unlike sketchup, you only can render a scene from camera view. When I try render from blender for the first time I got confuse, but it’s actually easy. Blender default already have a complete scene: an object, a lamp, and a camera. Try F12 ( Render ) that scene. Now you will have a result like below:
How to Use Camera:
If you want to change your viewport to camera view, press numpad 0. From this view, you can see the border of your camera. This camera is lock, so you can’t zoom, pan, or rotate the scene from this setting. To be able to do those adjustment, there 3 ways that I usually use.
1. Drag Camera.
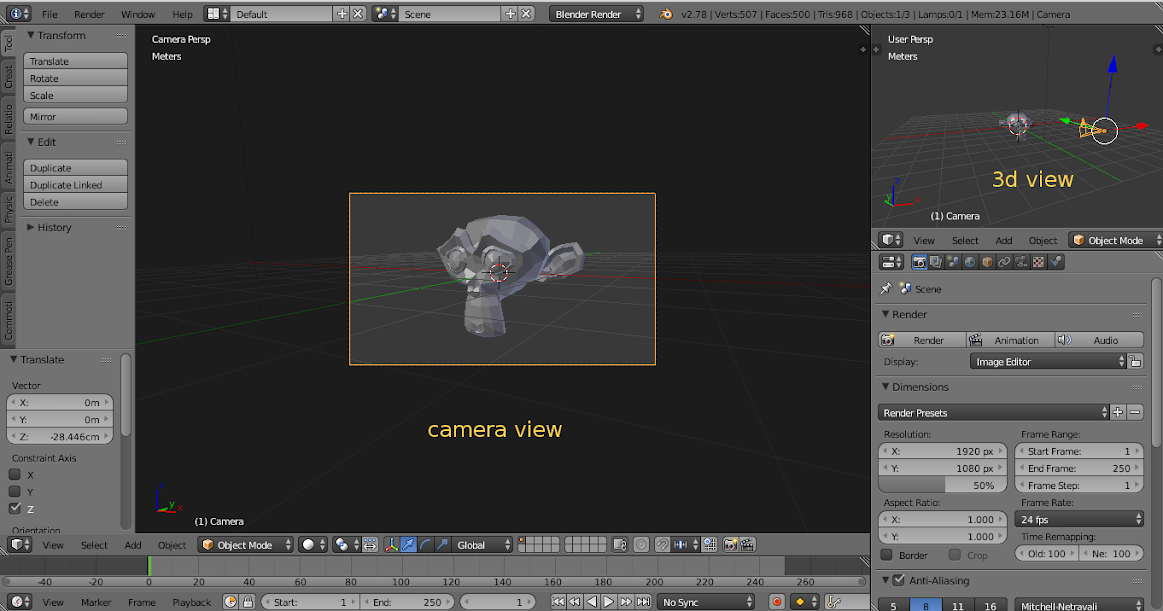
When I choose this approach, I usually open another viewport. Let’s say we change the outliner panel to 3D view, and your main viewport is in camera view. From your 3D view you can drag ( G ) the camera as you like. You can instantly see the changing on your camera view.
2. Click on Camera Border.
This one is the quickest. On camera view, right click the border until the color turn orange. Just like the picture above.
3. Lock Camera to View.
I use this method often. Display properties panel with shortcut N, scroll down and check the lock camera to view box.

Now, you can adjust directly your camera view by zoom, pan, and rotate.
Beginner Render Method:
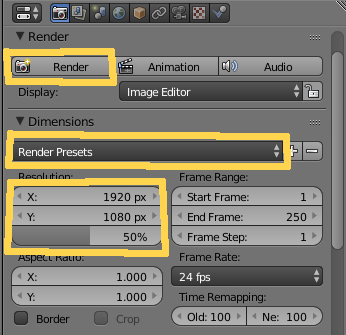
After you satisfied with your camera setting, now you want to render it, right?. Always remember, the image result is always from camera view. The fastest way is by press F12 or from menu Render —> Render Image. If you want to render from editor scene, click the render button. Below it there is a dimension option. You can choose according to your need. A little advise, if it’s just a preview, you can set the resolution to 50%.
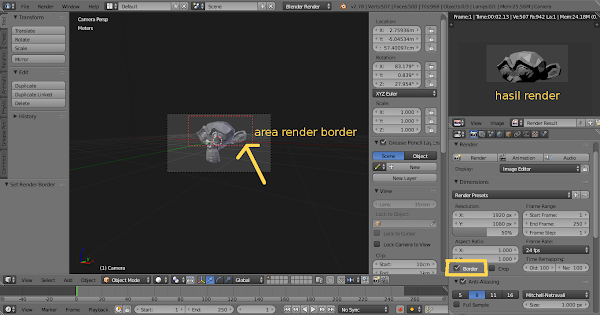
Tips: sometimes you only want a certain part of your object to get render. You can do it by go to View —> Render Border ( Ctrl + B ), drag a region border on your object, and click Render. You can do it as many as you like. After you finish, uncheck the border box.
If you just starting use blender, I hope this short tutorial can help you understand the basic use of camera and render setting. See you next time!.