After I show you how to add basic light source and material in cycles, this time we will learning about glossy and glass material in cycles. The process is similar to diffuse BSDF. So, let’s get started okay?.
Glossy Material:
Select the pyramid or you can add other object to your scene, and then create a new material with Surface = BSDF; Color = Yellow. If you have another object and want to apply the same material as your first object, click on the second object and then the first object. Next press Shift + L (Make Links) and choose Materials.
On our previous learning, we always use blender internal render. The result is good, but if you want more realistic image, you can use cycles render instead. Because the end result is so realistic and some say perfect, the render time is quiet long. In cycles render, the setting of light and material is different.
In some cases you need to use a node edit. But, that’s another article. For now, we will learn adding light source and diffuse BSDF Material material using cycles render.
Preparation:
For this practice, remove the lamp first. We don’t need it on cycles. And then switch to Cycles Render.
Beside produce a realistic render image, blender 3d also can create a freestyle sketch effect like cartoon on your object. You can arrange the thickness of line, style, transformation, etc. The end result will surprise you, because it doesn’t look like a 3d object.
Preparation:
Open your simple blender 3d object. I have apple IIe below, and on render editor I check Edge box and active Freestyle with line thickness: absolute.
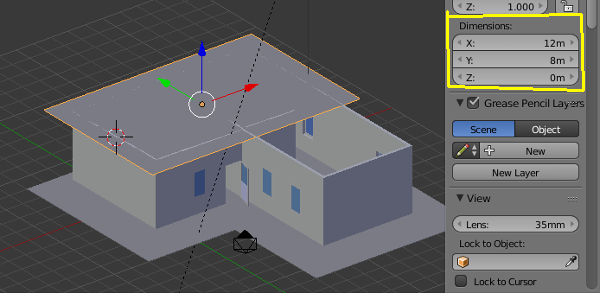
This the making of roof & its material is the final part of our house making blender 3d tutorial. If you missed the previous parts, please check links below: